Configure for Precision Heading
Overview
This tutorial walks through the process of configuring and running PpRx to output the precision heading of your platform via the Locus Lock GUI.
Prerequisites:
- Two antennas plugged into the RadioLion. Antennas should be statically mounted on the vehicle.
- A measurement of the distance between antenna phase centers. Recommended precision is on the order of millimeters.
Measure the baseline consistently between the same antenna phase centers used in the GUI configuration. Baseline orientation and distance should match the physical installation.
Like PpRx, PpEngine requires an .opt and .config file to specify its behavior. The GUI Configuration
Generator provides an efficient first-pass method for generating these files.
Steps
- Open the GUI application.
- Enable PpEngine via the GUI navigating to by
Run→PpEngine Setup->Enable PpEngine. - Configure PpRx settings within the Configuration Generator.
- Check the
Configure PpEnginebox. ForPpEngine Application, choosePrecision Heading. ForBaseline Distance, enter the measured antenna separation in meters. LeaveReverse Baseline Vectorset toNounless the baseline convention is reversed relative to the installed antenna order. - Select an output folder to write PpRx and PpEngine
.optand.configfiles to. - Select
Generate and set .opt + .config. This generates and sets.optand.configfiles for both PpRx and PpEngine. - Configure data input (live or post-processing) and output products.
- Press the
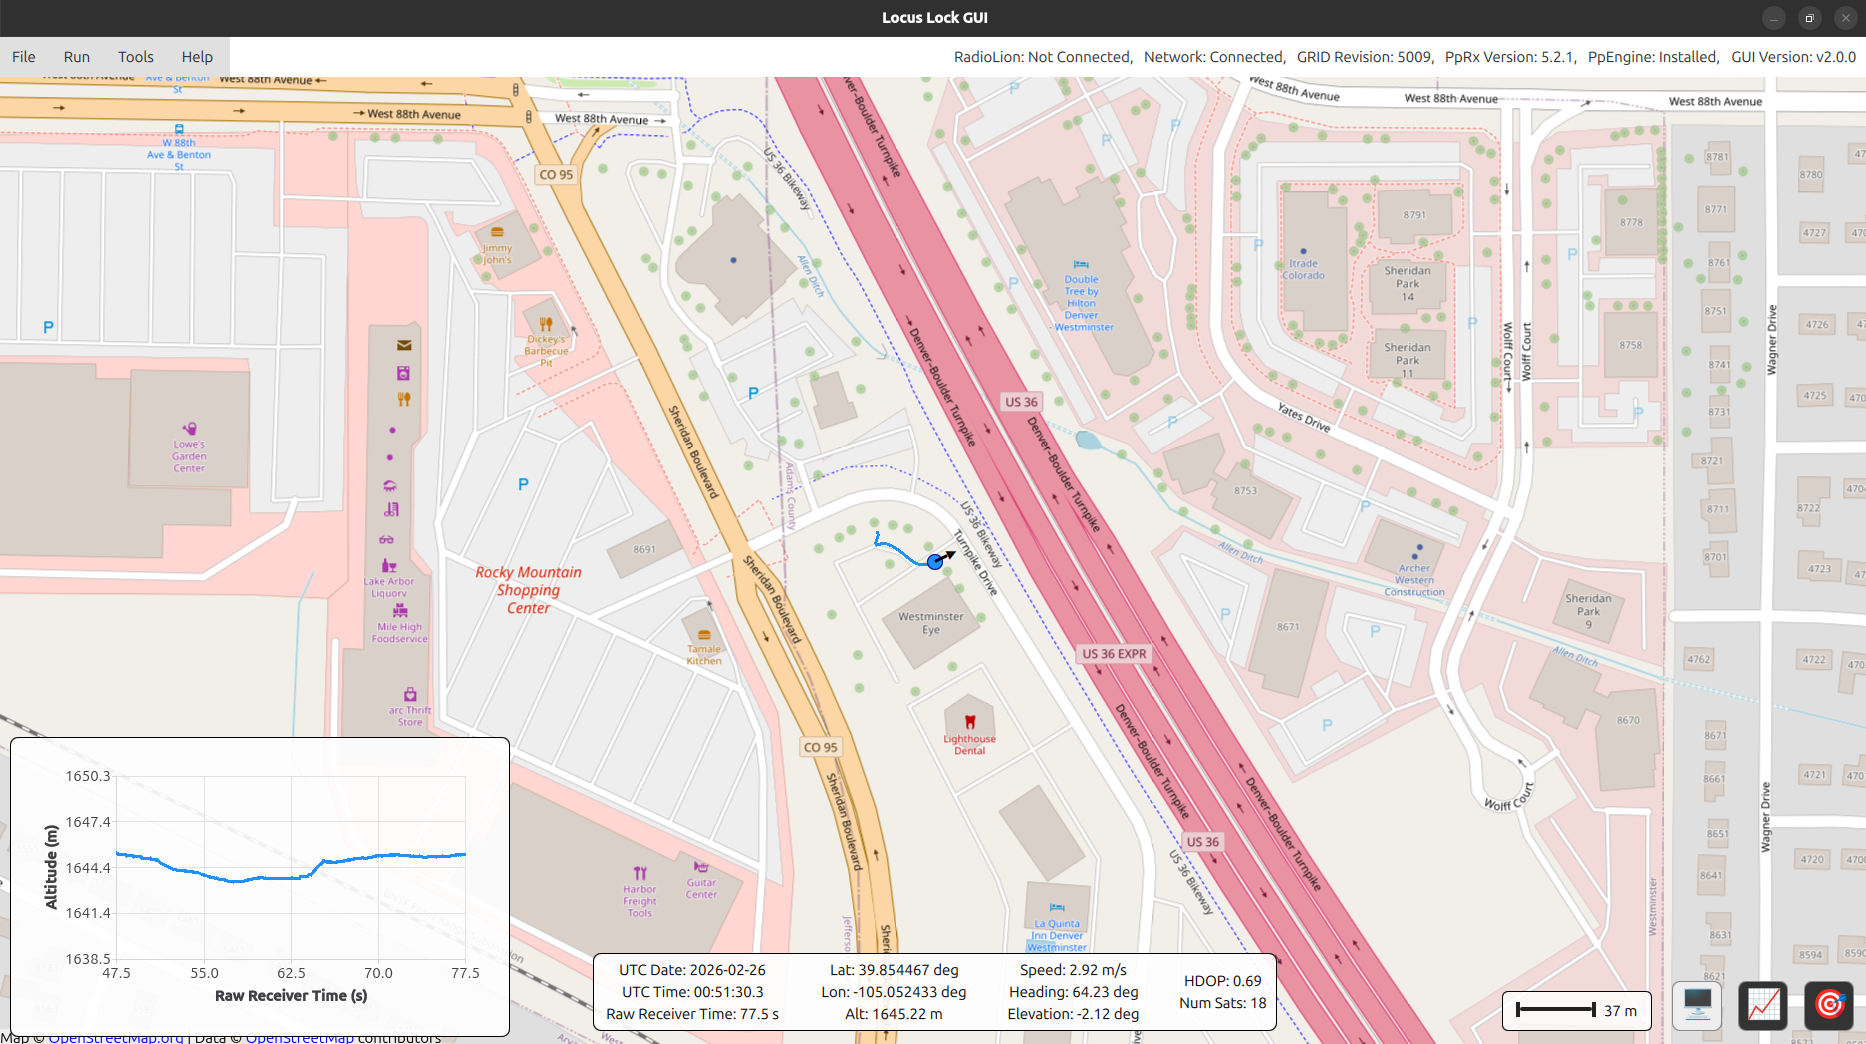
Run PpRx + PpEnginebutton in the Input/Output overlay. - Once a heading solution is obtained, the Information overlay will display a heading value, and a small black arrow will indicate the estimated heading.
note
In the GUI, heading is defined from 0 to 360 degrees clockwise from North.
By default the baseline vector is defined as from ANT1 to ANT2. ANT1 corresponds to REFERENCE_ANT_GROUP = PRIMARY and ANT2 corresponds to ROVER_ANT_GROUP = ALT1.